News
A2025-11-18
In the field of mechanical seals, the rotary screw oil seal (also known as a "return oil seal" or "helical seal") is an efficient dynamic seal. Its key feature is the presence of helical grooves on the outer rim or inner rim of the main sealing lip. This small thread is its soul, and correctly determining its installation direction is the most critical factor for ensuring sealing performance.If installed backwards, it will not only completely fail to seal but will instead act as an "oil pump," causing serious leakage from the equipment in a very short time.
This article will focus on the core concept of "direction determination" and detail the complete installation process for rotary screw oil seals.
Before diving into the installation steps, we must first understand how it works. This fundamental knowledge ensures the correct direction is remembered.
Correct Direction (Pumping Effect of the Thread):When the shaft rotates, the helical grooves create a "pumping effect." This effect pushes any escaping lubricant back towardsthe inside of the equipment (the oil sump side) along the helix. Simply put, the thread's job is to "fight leakage" by actively pushing the oil back in.
Incorrect Direction (Pumping-Out Effect):If installed backwards, the pumping effect is reversed. It will work with the shaft's rotation to accelerate the pumping of lubricant to the outsideof the equipment, leading to rapid and severe leakage.
Golden Rule to Remember: The threads must face the oil side.This is the ultimate principle for determining direction.
This is the most critical step in the entire installation process and must be performed carefully.
1. Observe the Seal Structure
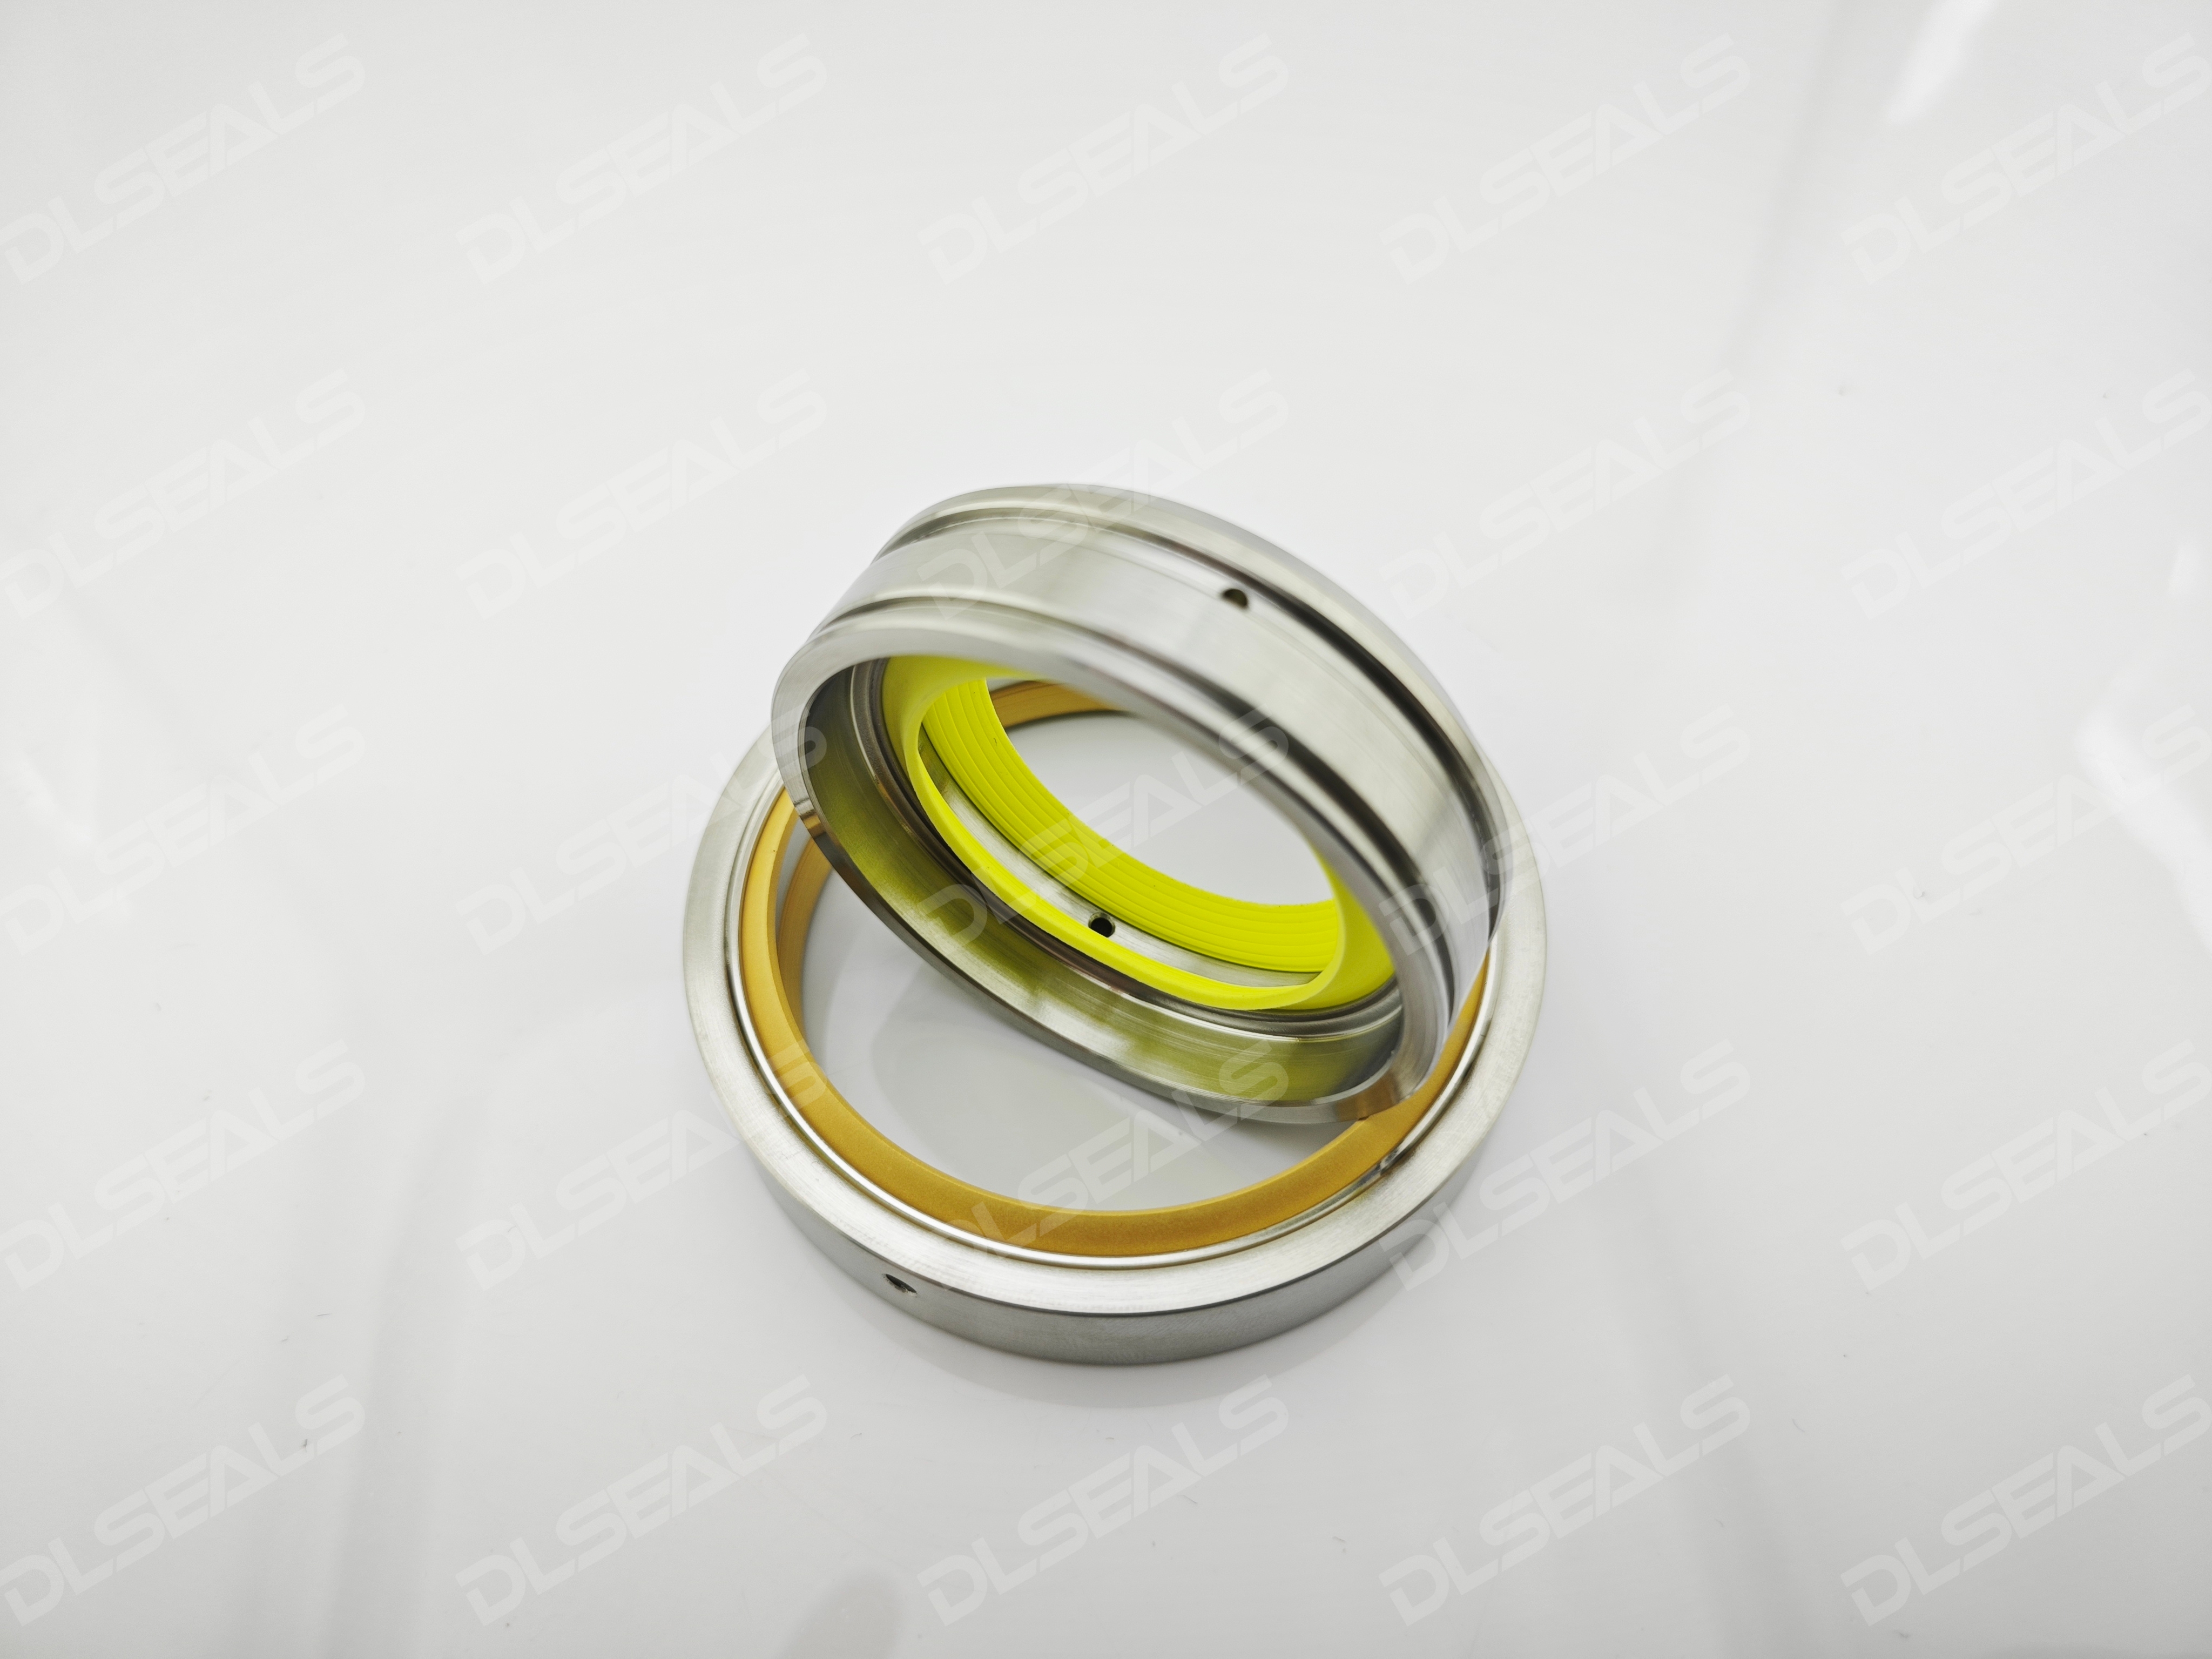
First, upon receiving the seal, carefully observe its lip structure. You will see helical grooves behind the main sealing lip. These grooves might be on the static part of the seal (e.g., the outer rim) or on the elastomer that contacts the shaft.
2. Identify the "Oil Side" and "Air Side"
Oil Side (Lubricant Side):The interior of the equipment, filled with lubricant.
Air Side (Atmosphere Side):The exterior of the equipment, exposed to the open air.
3. Apply the Golden Rule for Judgment
Think of the helical groove as a "ramp." When the shaft rotates, the oil will be transported along this "ramp."
Method of Determination:Imagine you are standing on the "Air Side" looking at the seal and observe the shaft's rotation direction (which is usually fixed; consult the equipment manual).
Scenario A:If the shaft rotation direction is clockwise, the direction of the helical grooves must also be clockwise(when viewed from the air side). This allows the rotating shaft to "scrape" the oil along the clockwise thread back towards the oil side.
Scenario B:If the shaft rotation direction is counter-clockwise, the direction of the helical grooves must also be counter-clockwise.
A Simpler, More Visual Mnemonic (applicable to most cases):
When viewed from the "Air Side" (outside) of the seal, the direction of the helical grooves must be opposite to the direction of shaft rotation.
Shaft rotates clockwise -> Grooves appear counter-clockwise.
Shaft rotates counter-clockwise -> Grooves appear clockwise.
A practical trick:Use your finger to trace the direction of the thread. The direction your finger moves is the direction the oil will be pumped. Ensure this direction points to the inside of the equipment.
Important Note:Some seal manufacturers mark the seal casing or outer diameter with "Oil Side" or an arrow indicating the rotation direction. Always check for these markings before installation; this is the most reliable reference.
Once the direction is confirmed correctly, you can proceed with installation.
Preparation:
Clean! Clean! Clean!This is the cornerstone of a successful seal. Thoroughly clean the shaft, housing bore, all installation tools, and your hands. Any tiny particles of grit or contaminants can score the sealing lip and cause failure.
Inspect:Check the shaft and housing bore surfaces for burrs, scratches, or wear. Polish smooth with a honing stone if necessary.
Lubricate:Apply the lubricant to be used in the equipment to the main sealing lip and the auxiliary lip (if present). Also, apply a thin film of lubricant to the shaft surface. This significantly reduces the risk of lip flipping or cutting during installation.
Installation Operation:
Select the Correct Tool:Use a dedicated seal installation tool or sleeve. The tool's diameter should match the seal's outer diameter and make even contact with the seal's metal casing face. Never hammer directly on the seal's rubber part or the sealing lip!
Alignment and Positioning:Place the seal squarely(ensuring the oil side points toward the equipment interior) into the housing bore entrance. Ensure the seal is parallel to the bore, without tilting.
Press in Evenly:Align the installation tool with the seal. Using a press or a hammer, tap the tool vertically and evenlyuntil the seal is pressed into its specified position at the bottom of the housing. Ensure force is applied evenly throughout the process to avoid any tilting.
Check Final Position:After installation, check that the seal is fully seated, is flush, and verify that the sealing lip was not pinched or damaged during installation.
Backwards Installation:This is the most critical and common error. The consequence is immediate or rapid severe leakage.
Brute Force Installation:Using inappropriate tools or pressing in at an angle can deform the seal casing, damage the outer diameter, or crush the sealing lip.
Lip Damage:A sharp or non-chamfered shaft end can cut or nick the sealing lip during installation. Always ensure the shaft end has a smooth lead-in chamfer. A dedicated installation sleeve or wrapping the shaft end with electrical tape can provide protection.
Residue from Old Seal:When replacing a seal, completely remove any remnants of the old seal from the housing bore to ensure a clean, flat mounting surface.
Installing a rotary screw oil seal is not technically difficult but requires extreme care and meticulousness.Remember the core mantra:
First, identify oil and air sides, then check the thread's direction.
The spiral determines pumping; towards the oil side is the rule.
Use dedicated tools, press in straight and true.
Cleanliness is paramount; protect the lip from fate cruel.
By strictly following the guidance in this article, accurately determining the direction, and performing standardized operations, you can ensure that the screw seal performs its excellent sealing function, protecting the long-term stable operation of your equipment.
[DLSEALS kindly Reminder] Sealing issues? Turn to DLSEALS! As a sealing component manufacturer, we specialize in customizing sealing components, providing a full range of services from design, research and development, production, testing, and more. If you have more information you'd like to know, feel free to contact us directly. DLSEALS's product experts are dedicated to serving you!
GUANGDONG DLSEALS TECHNOLOGY CO.,LTD.
TEL/Whatsapp
:+86 15918359971ADDRESS
:No. 2 Niujiaokeng Road, Baizhoubian, Dongcheng District, Dongguan, Guangdong, China.